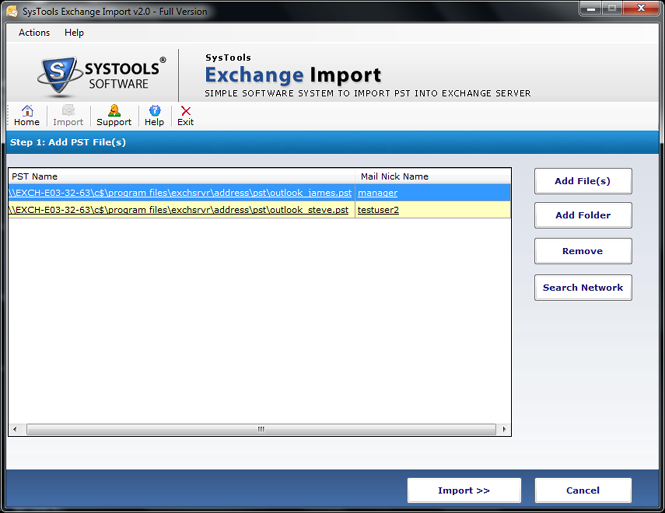
While using this tool follow these steps for migrating Outlook data file to Exchange Mailbox.
Step 1
Download and Install the software.
Step 2
Run the Software, it will have following interface.
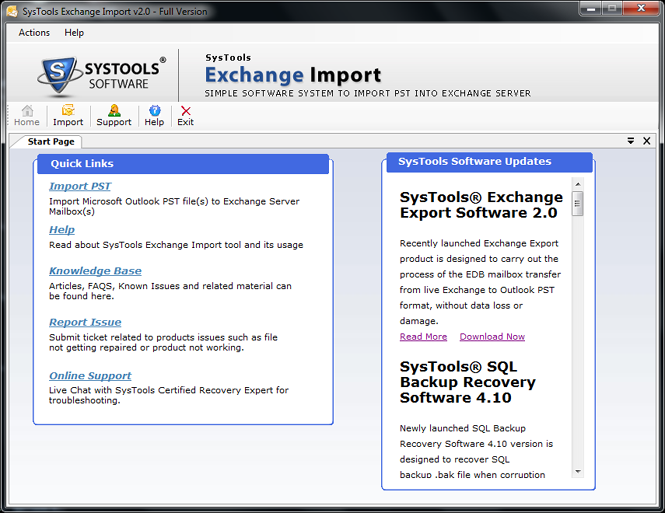
Step 3
Click on Import option from the header menu.

Step 4
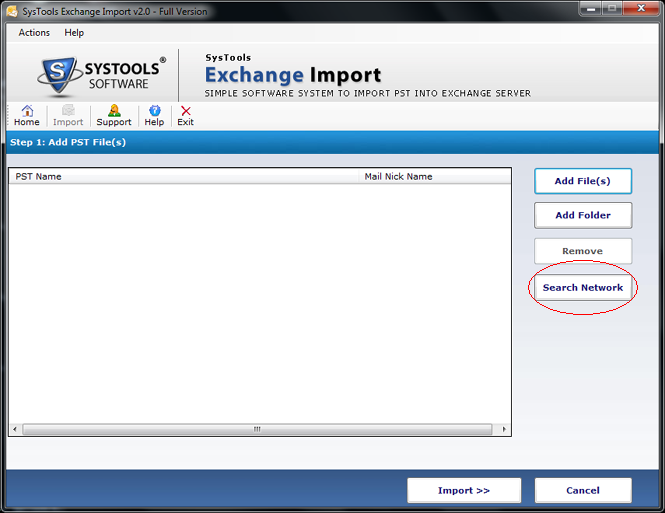
This Screen will give 4 options as Add file(s), Add folder, Remove, Search Network
Add File(s)- This option allows to add single PST file or multiple file for migration.
Add Folder- For adding multiple PST file from residing in a folder select this option.
Remove- Selected PST files can be removed from the list by using this option.
Search Network- This option provides users to access their PST files from network location under the same domain.
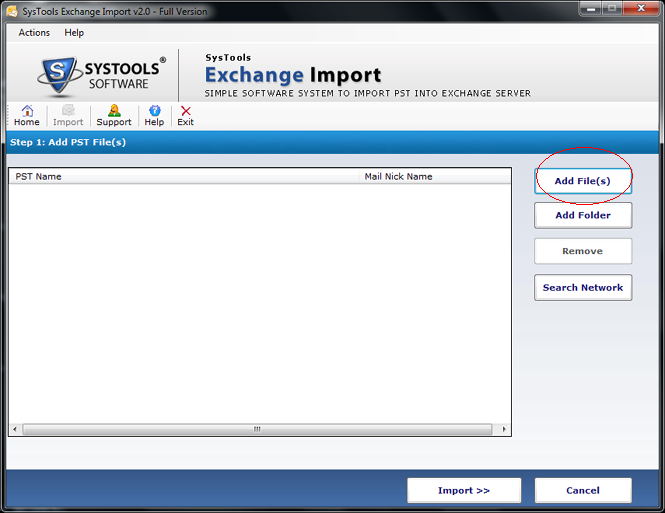
Step 5
Select Add file(s)
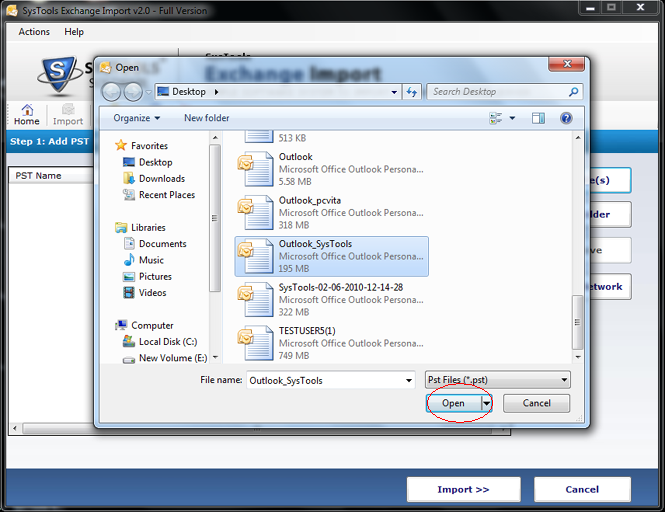
Step 6
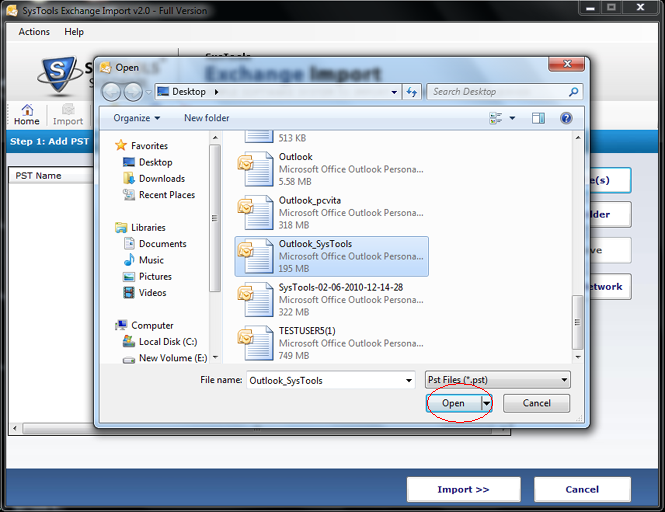
Then select your PST file and click on open
Step 7
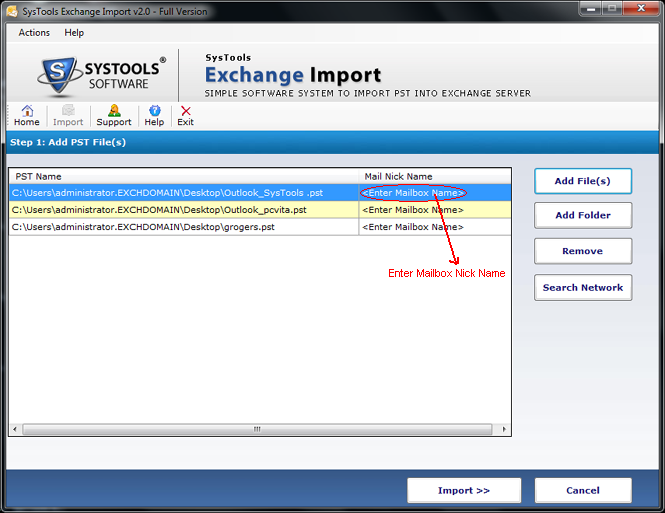
Give the Mailbox name in the Mail Nick Name column in their respective PST file.
Step 8
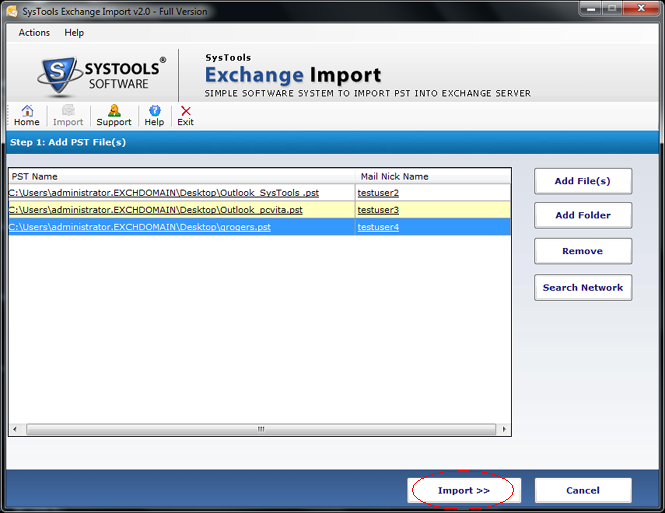
Click on Import option to import Outlook PST files to Exchange Server Mailbox.
Step 9
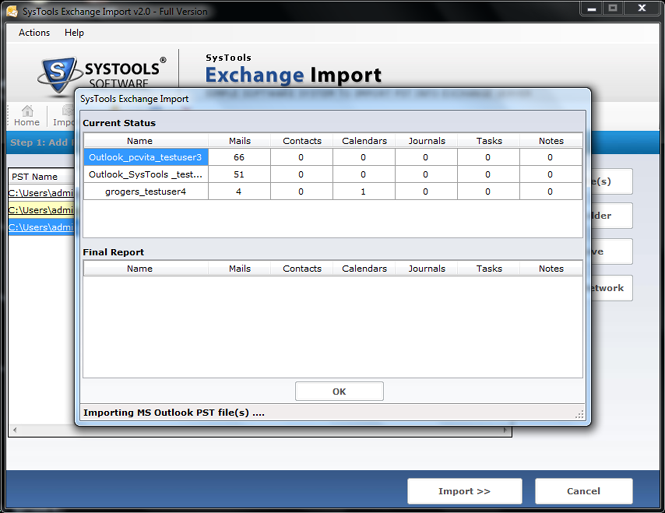
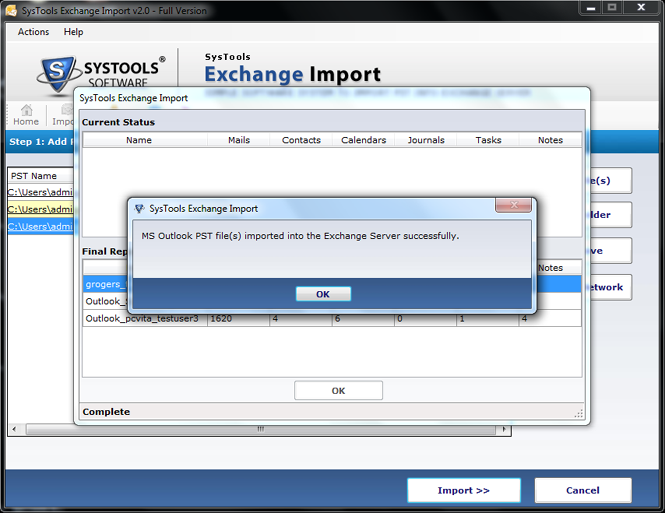
A screen will appear which will show current status and below final status of migration process.
Step 10
After completing this process, a message appears showing for successfully imported files from pst to exchange.
Step 11
Click OK on that screen.

Step 12
If you go for Search Network option, the steps would be-
Step 13
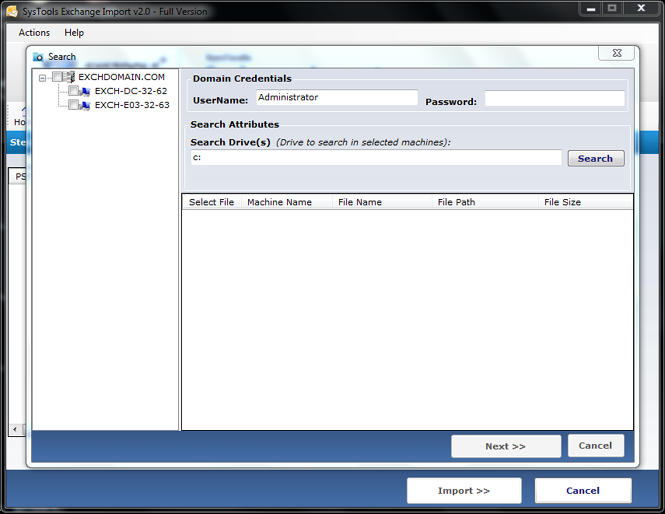
A screen appears which shows all machine names in that domain which Exchange server shares having Domain Credentials, search Attributes and Search attributes sections.
Step 14
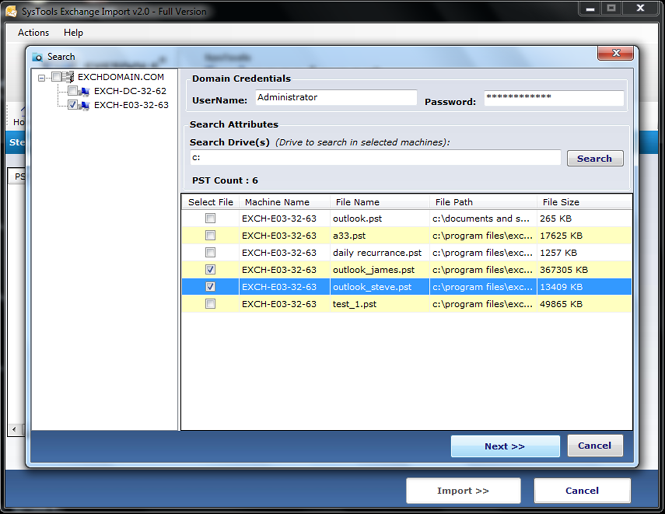
Select your machine (one or multiple machines can be selected) and search for drive in which pst files resides and select desired file having .pst extension.
Note: password is not required for local machines in domain credentials field (provide only User name), it is required only for other connected machines.
Step 15
Click on Next, a screen appears giving Access status.
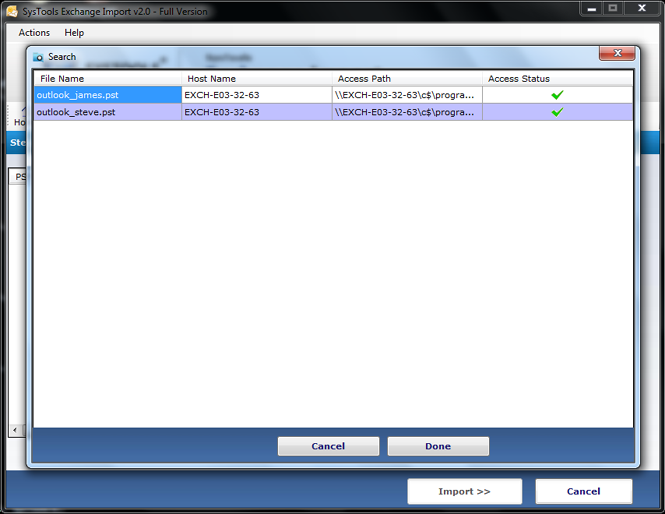
Step 16
Click Done and follow the same steps from step 7 to step 10.
